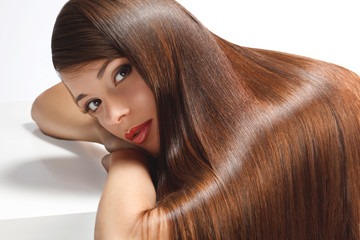
A head full of thick and silken strands as in different advertisements is a dream of every girl in the world. Beautiful hair is really something to be proud of. But there should be an appropriate permanent care routine to maintain it in a perfect condition all the time. Firstly, beautiful strands are a result of eating healthy food and following healthy style of life. The whole body gets special useful stuff with food and later distributes everything to nails, hair, skin and so on. To make the strands shine bright like a diamond there should be vitamins A, C, D and group of B vitamins, and also iron and zinc in the daily diet.
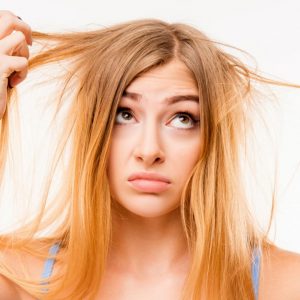
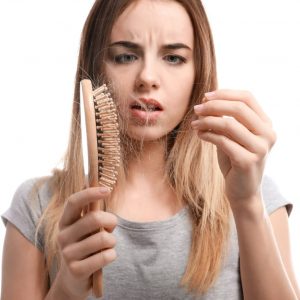
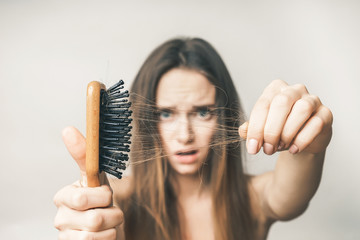
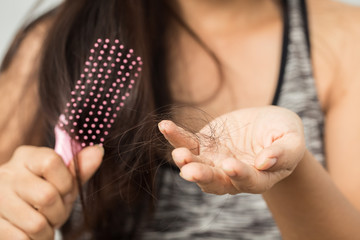
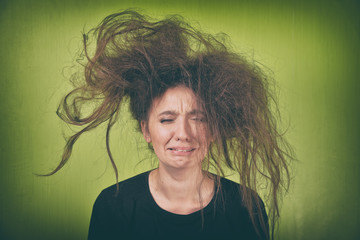
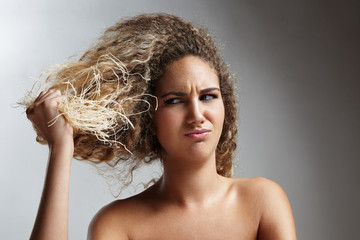
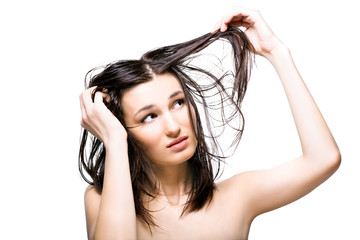
There are too many things that prevent women from having healthy strands. Bad habits damage the whole body and hair, nails and skin as well. Toxic water, blow dryers, styling products and stylers, combing and so on are the main enemies of women’s beauty. This is the reason, why it is necessary to follow all the rules in the list below, or at least try to.
=&0=&
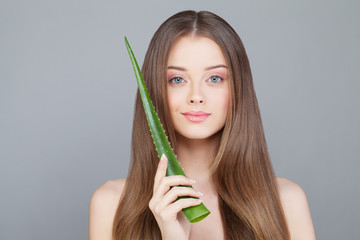
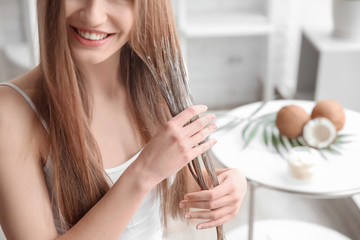
Today, there is a huge amount of different products and treatment sessions, but there are also some popular common recipes including natural products for hair beauty. So, there are 2 variants how to keep strands in a healthy condition: professional treatment and granny’s recipes. And both of them are very popular. The choice depends just on the own liking. But making a choice just between these two treatment kinds is not all you need to have a beautiful hair.
Here are also some useful rules:
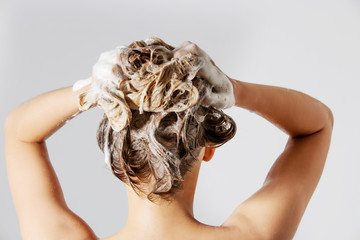
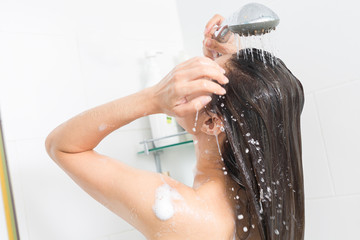
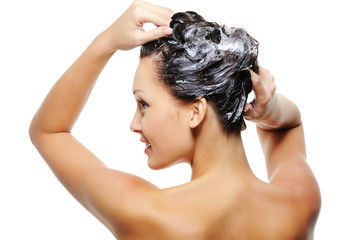
- Washing astrands only in soft and clean water.
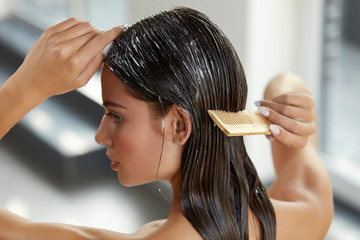
- Instead of rubbing hair with a towel after washing, pat dry it gently. It helps to prevent damages. Do not keep wet strands in a towel just after washing for a long time.
- Going to bed with wet hair or without washing off all the styling products is forbidden.
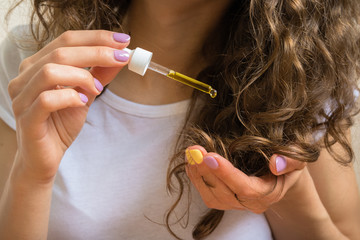
- Using special care products that are created to solve specific hair problems.
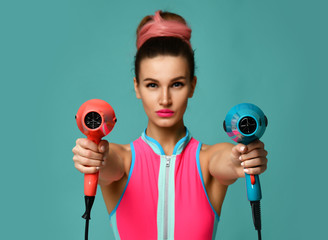
- Try to avoid blow dryers and stylers and let the strands dry in the air. When it is impossible, use special heat protection to reduce a harmful effect.
- Head massage is a wonderful way to combine both something useful and something pleasant. It helps to relax in the evening after a hard working day, and also makes the blood flow better, that help hair grow faster.

So, every girl should have her own secrets of healthy good-looking hair, but there are some common tips for everyone. Having beautiful healthy strands is a hard work, that needs a lot of responsibility and persistence. Following all the rules above will make any hair look amazing and as something to be proud of.